
Crochet Head Wraps

Hey everyone!

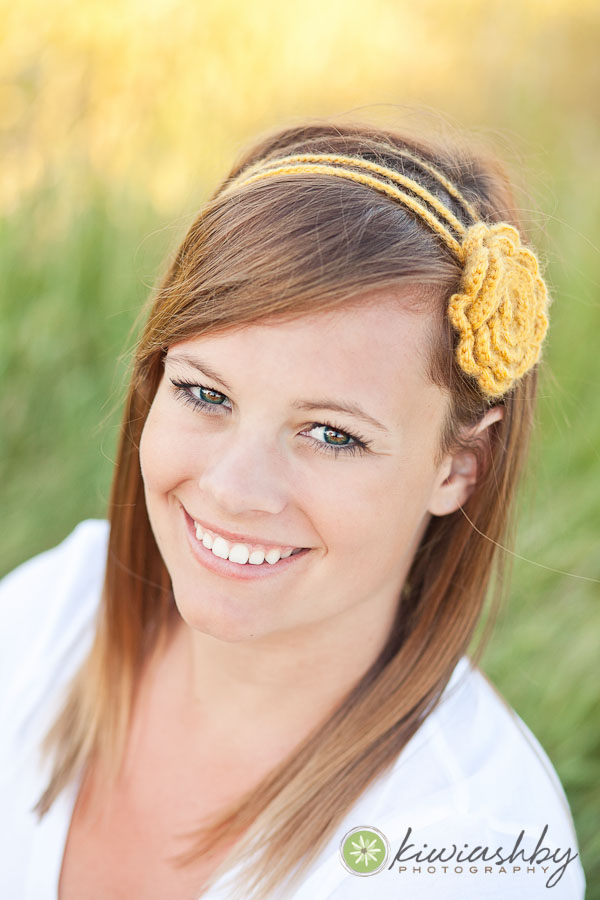
I am so excited about this. After lots of work I am finally ready to post my first crochet patterns on Etsy! We are just looking over everything to make sure it is perfect, but I hope to post them on etsy next week. There are 3 different headband styles: 3 Flower Chain Head wrap, Rose Head wrap, and Flower Head wrap. They all have various sizing adjustments to fit babies to adults. Check out a sneak peek of them below. Pictures were taken by the great Kiwi Ashby (www.kiwiashbyphotography.com). She is amazing at what she does!! Right now I am not ready to do custom orders, but I am planning on making the bands and selling them on etsy at a later date. For those who have questions regarding these bands email me at rivkawilkins@yahoo.com (please no solicitors).

Popular posts from this blog

Connected fonts

Hi Everyone! Wow it's been a long time. We have been very busy adjusting to our new neighborhood and remodeling our new home. It's coming along, but there is still a lot more to do. Here is a breakdown of the new fonts I have made available. In order to get past the problems of character maps, I have replaced keyboard characters with designs. I hope this helps :) Happy Holidays! Swift Arrow Font Archer Font Swirl Font

Pop Up cards Tutorial

I'm sorry everyone, I really thought I did this years ago. Maybe it was accidentally deleted. Well here it is again. Follow these guidelines for all the pop up cards. cut out all your shapes and remove any negative space that will not be part of the finished design, like the inside of letters, between the letters and the cake decorations. fold the backing along the perforated lines glue around the outside of the design and the bottom part. For the other pop up cards (valentine, train, spring, etc) glue the parts that will not be protruding (in between the letters) glue the front to the backing sandwich the paper with the opening away from you = down sandwich with the opening toward you = up fold along the perforated lines. For the birthday card you will be folding, from the bottom of the design,  up, down, up, down, etc. Sort of like an accordion. The card will start to form a right angle as you go. When you fold the card closed you will want

New Monogram Instructions

Basic Monograms Sequence is: frame - uppercase (left) - lowercase (Middle) - "lowercase" (right) The frame is the hyphen key Uppercase keys will give you the left letter Lowercase keys will give you the middle Letter The following keys will give you the right letter 0 = a 1 = b 2 = c 3 = d 4 = e 5 = f 6 = g 7 = h 8 = i 9 = j ! (exclaim) = k ( (parenleft) = l # (numbering) = m \ (backslash) = n : (colon) = o , (comma) = p . (period) = q ? (question) = r ; (semicolon) = s * (asterisk) = t / (slash) = u { (braceleft) = v } (brace right) = w [ (bracket left) = x ] (bracket right) = y ) (parenright) = z For example, to make the image above I typed -Ab2 Script and Type Monograms Sequence: frame - lowercase - uppercase - lowercase The frame is the number 1 lowercase keys will give you the left letter Uppercase keys will give you the middle Letter lowercase keys will give you the right letter For example, to make the im